How To Use an Automatic Compost Sifter to Build Healthy Garden Beds
- 3 min reading time
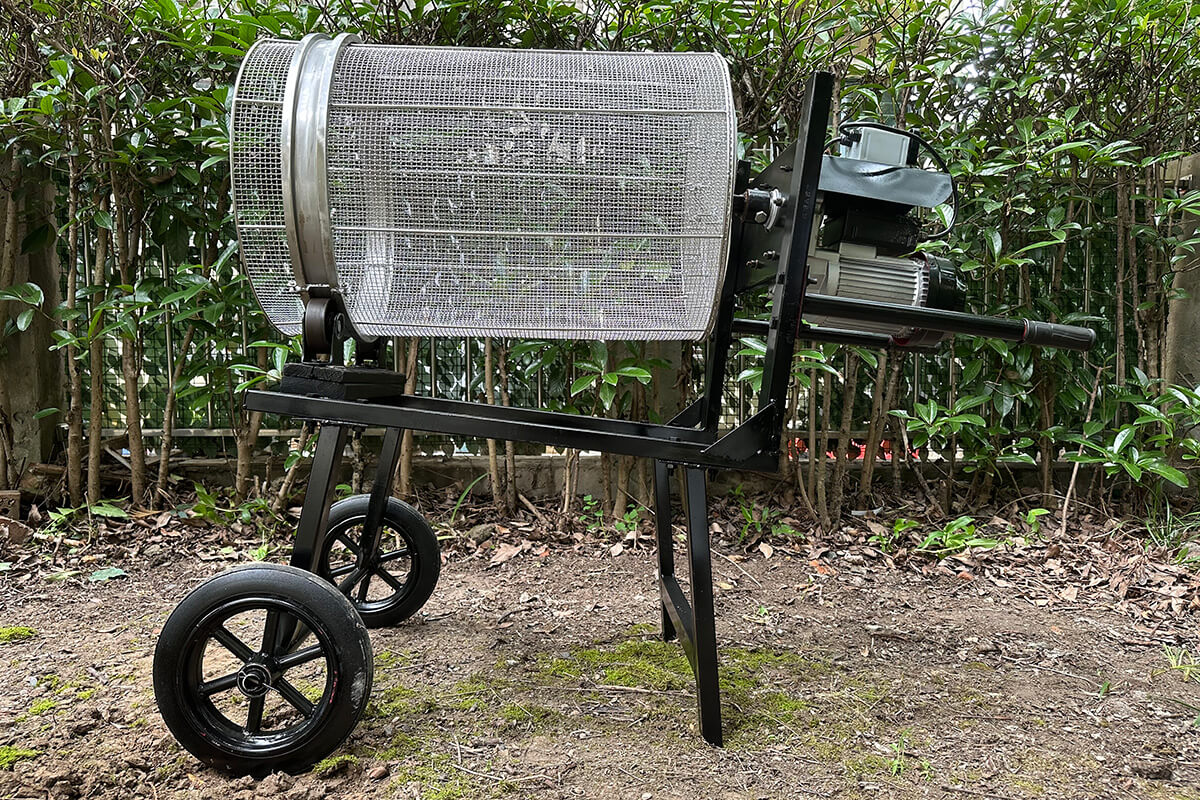
This automatic compost sifter has been an absolute game-changer for me this gardening season. It’s allowed me to create rich, humus-laden compost in just a matter of minutes. The primary material I use for composting is decomposed wood chips, and it's proven incredibly effective.
I’ve been developing a food forest in my yard for the past eight years. During that time, I’ve had several loads of wood chips delivered to the property. These chips have been used to mulch the entire landscape—both before and after planting—to help retain soil moisture and suppress weed growth.
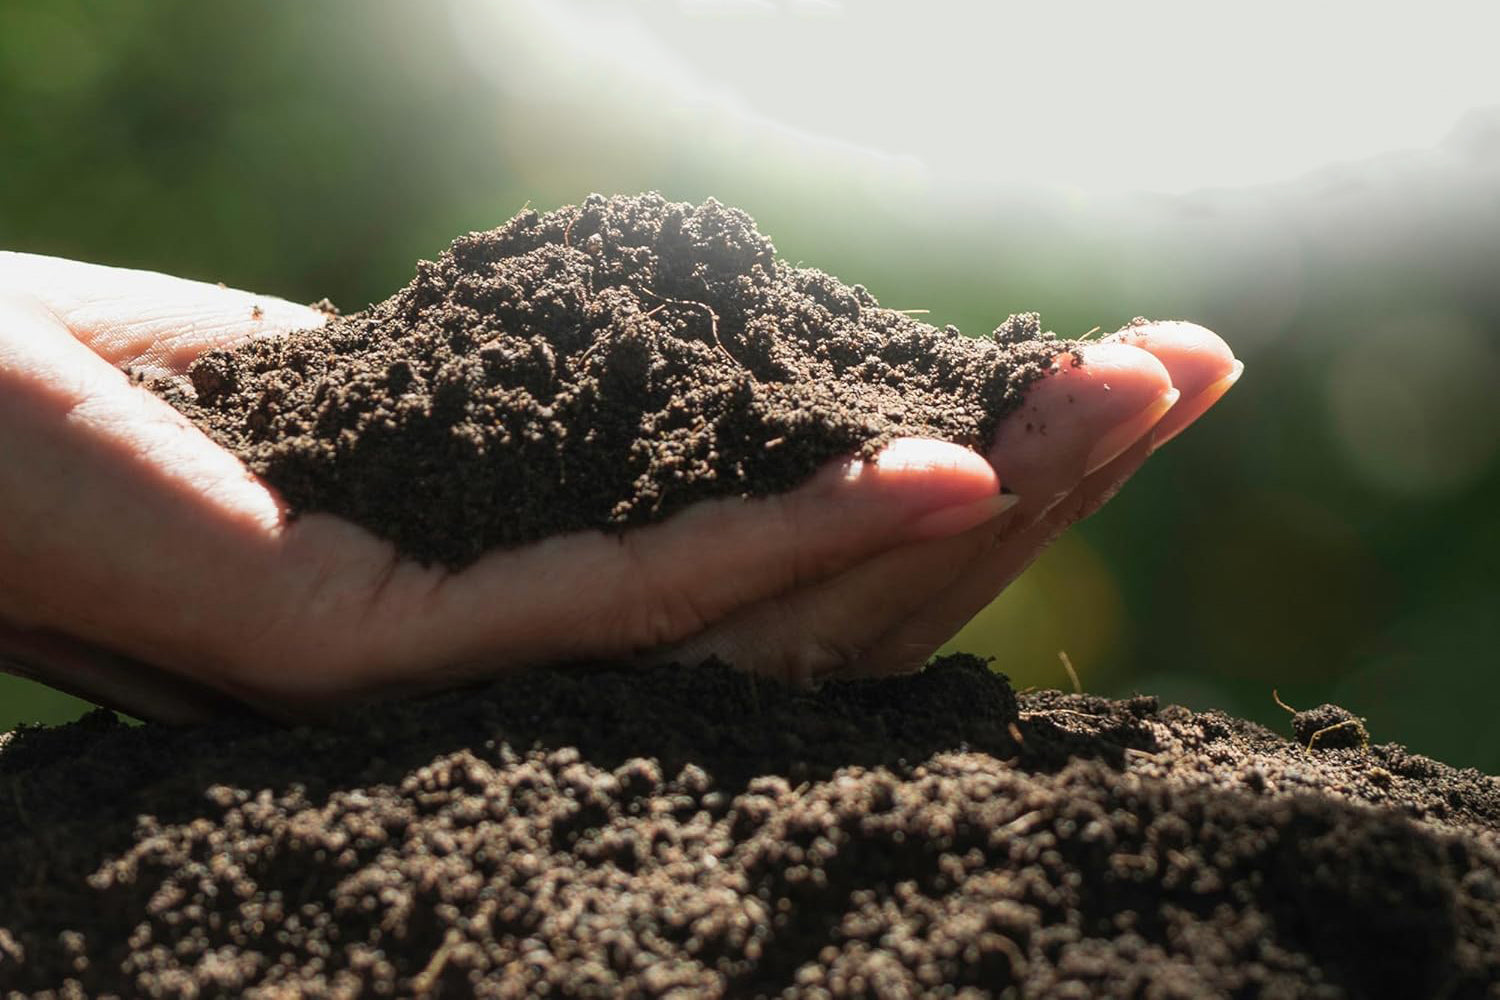
Over the years, the mulch starts to break down naturally. Thanks to the soil food web—with earthworms and beneficial microbes at work—those wood chips, leaves, and organic debris decompose into a rich, dark humus. Worm castings get deposited, and before long, I’m left with beautiful, fertile soil, albeit with some larger wood chips still mixed in.
Starting a New Garden Bed: Step-by-Step
Let me walk you through how I break new ground and prepare a garden bed in an area that hasn’t been planted yet.
1. Surface Raking
The first step is to rake off the top layer of more intact wood chips. I move those to a nearby garden path for reuse. Just beneath that surface, you’ll see where everything has already begun to decompose.
2. Excavation
Using a shovel and a flathead rake, I start scooping out the area until I reach the native soil, which in my case is primarily heavy clay—not ideal for planting. The layers above, though, are rich with broken-down organic matter.
Having all this material to amend the clay soil over time has made a huge difference. Even just mulching with wood chips has already started conditioning the soil. In fact, areas that haven’t been mulched are noticeably denser, stickier, and harder to work with.
Using the Compost Sifter
Here’s everything I excavated from the area—a rich mix of humus, decomposed wood, and a bit of native soil. I always make sure to return any worms I come across back into their home.
Now it’s time to sift. This part is incredibly quick and ergonomic with the automatic sifter. It separates the fine compost from the larger wood chips effortlessly.
Refilling and Mixing the Bed
I return the sifted compost back into the bed I just excavated and begin mixing it into the native clay soil. This step is crucial: if your garden bed is made of only soft, fluffy compost and it abuts dense, heavy clay, plant roots can struggle when they reach that boundary. The transition can cause root stunting or even rot.
By mixing in the native soil, I’m creating a more natural gradient and slowly improving soil structure. Each year, this bed will get better as more organic material is added and the clay continues to break down.
DIY Tips for Compost Sifting
If you don’t yet have a Trommel-style compost sifter, you can easily build a simple square sifter using some 2x4s and ¼" hardware cloth. It’s an easy project and works well for small batches.
But if you plan on sifting a significant amount of compost and wood chips—as I often do—I highly recommend either purchasing or building a Trommel rotary sifter.


